What was it like to do our own pier foundation?
Dec 8 2020 - Made our first corner beam on post. Terrible concrete work on our first pier. We forgot to vibrate it after pouring. Make sure you vibrate the bubbles out of your piers after pouring. This is how it looks like if you don’t.
Are you considering to do your own foundation? Questioning if you can manage it yourself or hire a professional? Perhaps reading our experience will guide you in making the right decision for you. This not a instructional article. I will be sharing our experience and the challenges we had dealt with.
Knowing that we will be building this house, we made sure our design was very simple and doable by two people, off the grid, without the need of heavy materials and specialized machinery.
We also wanted to put our home on piers so that we do minimum destruction to the ground underneath. We placed our home on a beautiful rocky hill - looking down a ravine. In our vision our home sit elevated lightly on the bedrock bellow.
The first issue we had to solve about putting our home on piers came from the building inspector; reminding us that the Ontario Building Code does not allow all season homes to have their pipes exposed cold weather. To overcome this, we decided to create a small climate controlled crawl space that would only be under where the pipes are traveling closer to the ground.
Here is the structural foundation plan we started with for our home on piers.
All the circles bellow are all the piers, and the areas that are lightly coloured are patio - therefore the piers for those are smaller and spaced out. In the fine text it states that all the piers must sit on the bedrock.
Exposing the Bedrock
Something we could’ve done but didn’t do to logistic problems; was to bring a soil engineer to tell us where the bedrock is and test the load-baring capacity bellow. Instead we chose to excavate and find bedrock ourselves. We knew that we were sitting right on it because we could see it on the surface. We were also told about the depth and the kind of the bedrock underneath by the well guys, who had to drill 100+ft bellow ground.
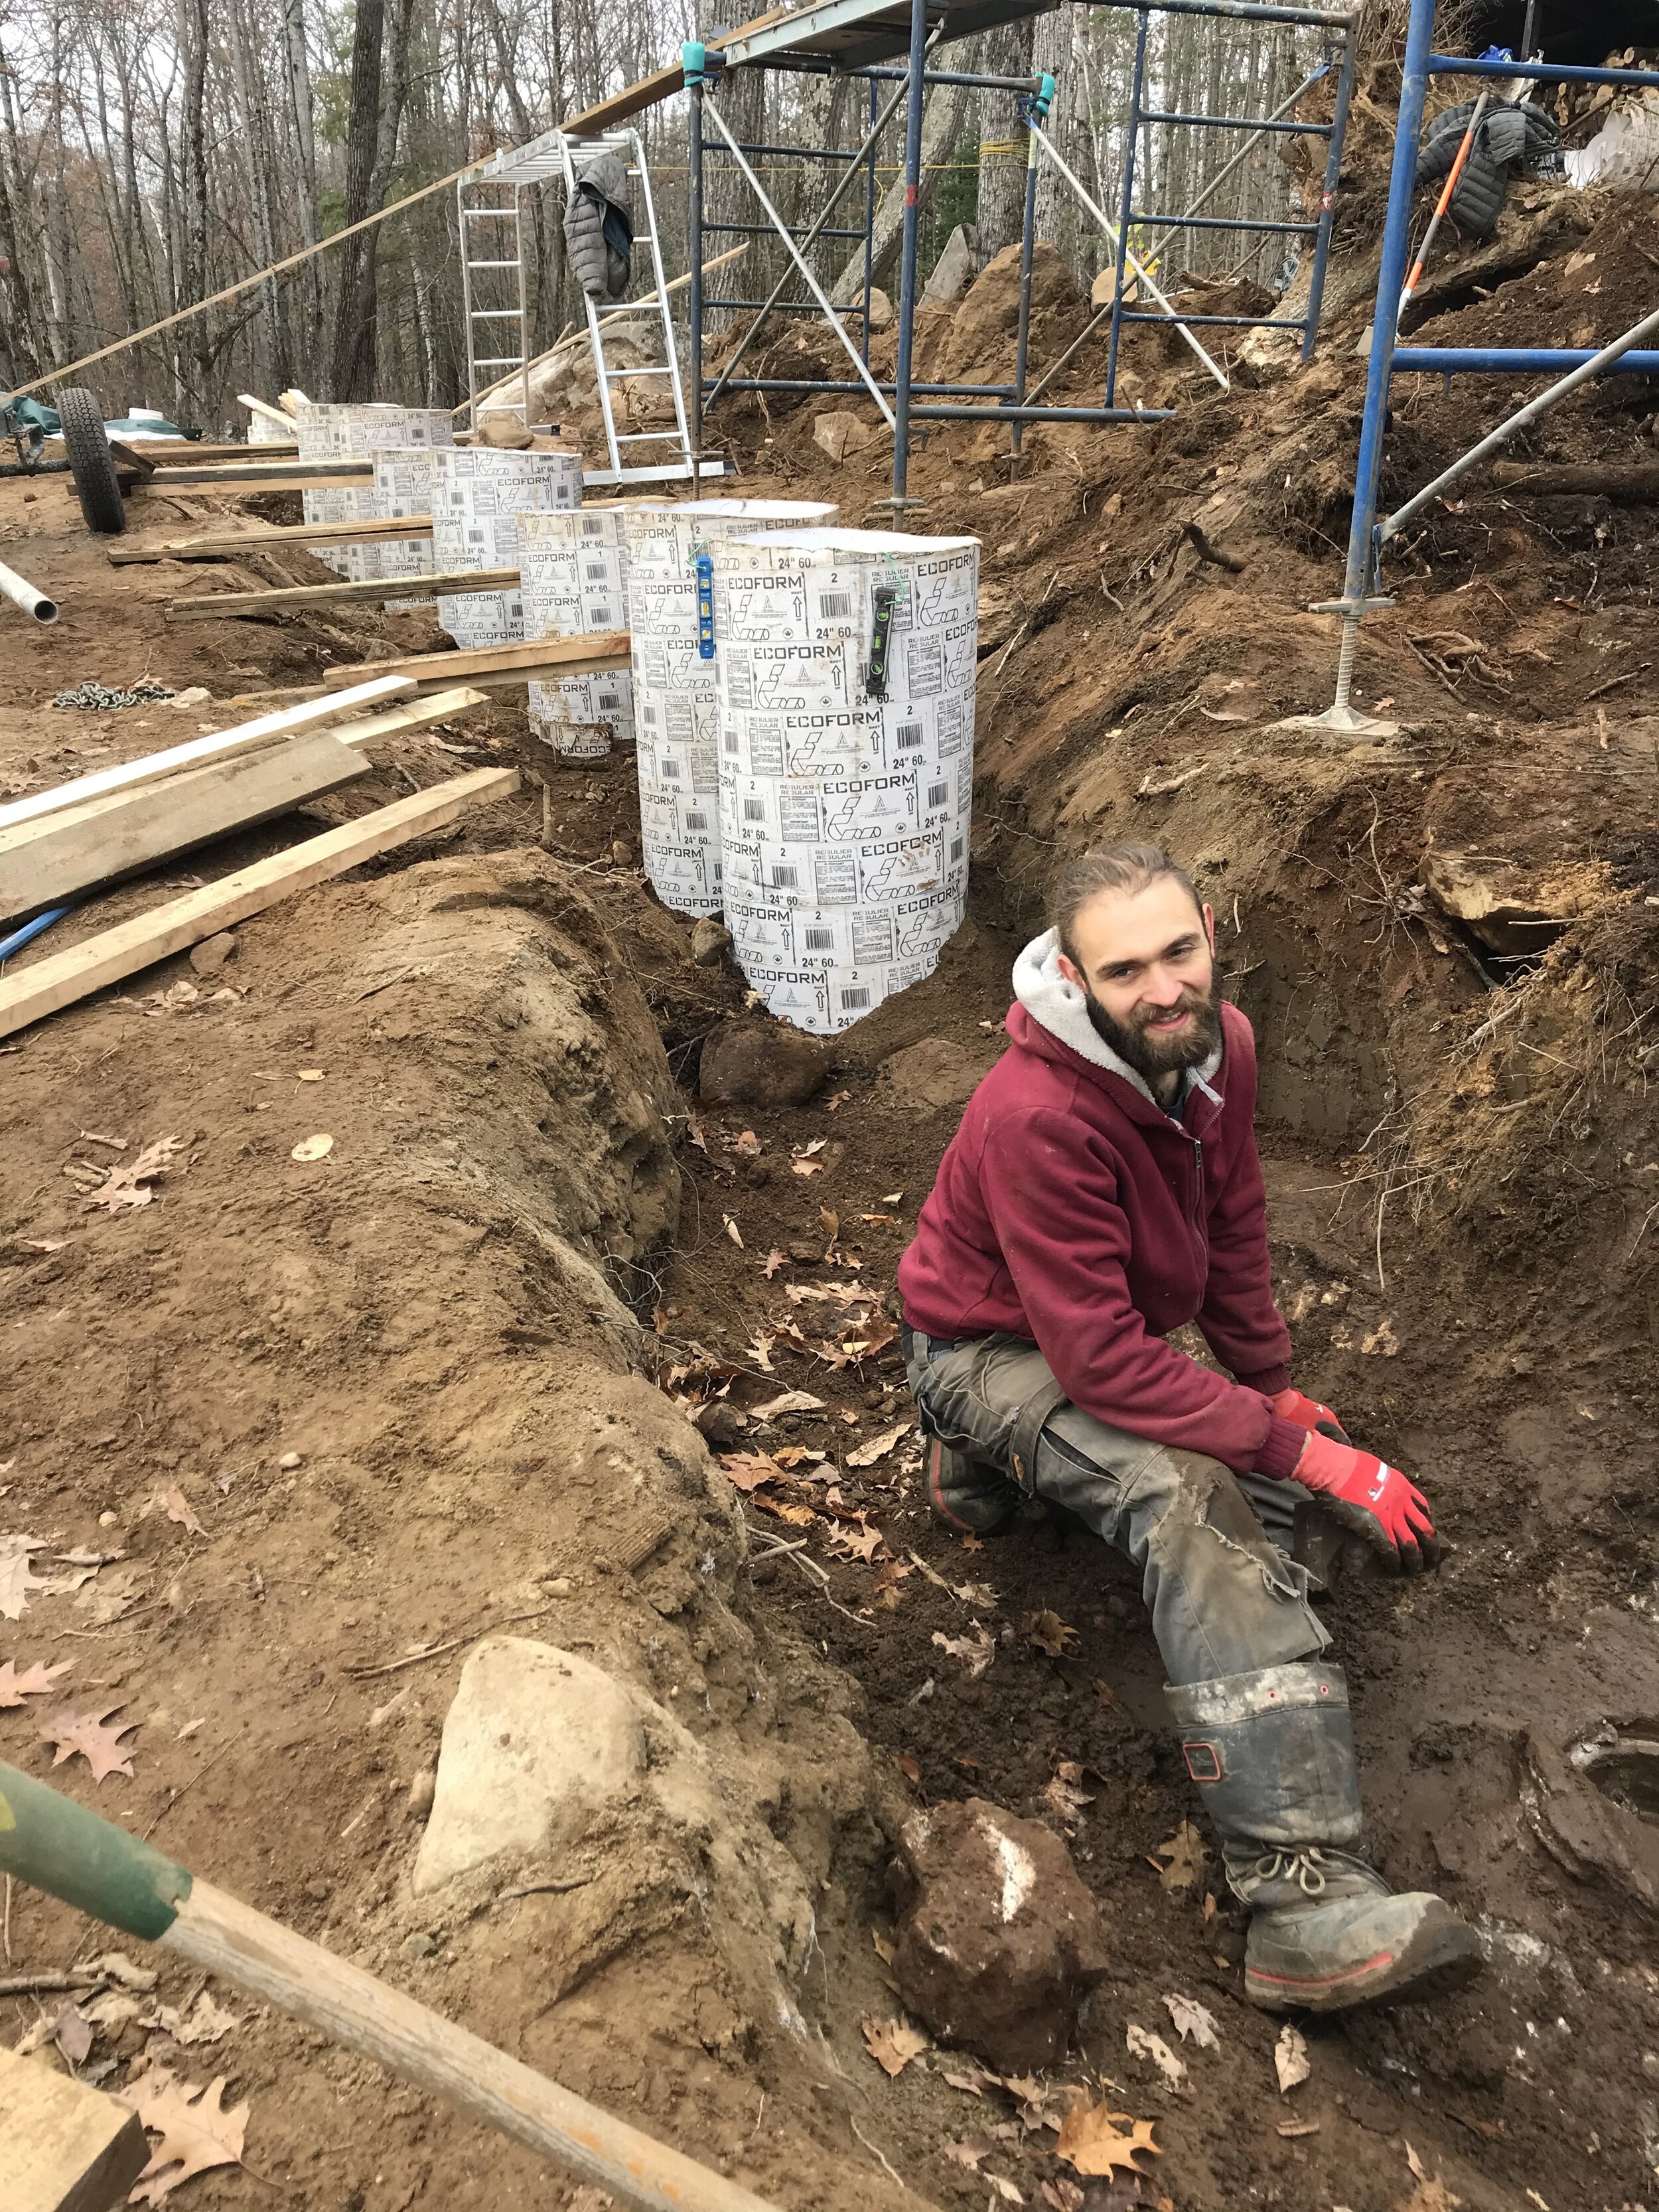
As we started excavating we discovered that the bedrock doesn’t behave in an expected manner. It dips and surfaces within meters - making some piers sit on the surface and some buried 5ft deep. And there were also some that were in-between with a bit of rock and a cliff down (as you can see in some of the images bellow).
To excavate we used our one and only Backhoe excavator, the drill bit and a LOTS OF hand shovelling.
We used 2 methods to secure our piers on the rock - drilling a 6” diameter dowel on the rock surface and when not possible due to uneven ground using a rebar. We paid to manufacture the special drill bit for the backhoe but saved on buying rebars. We could’ve used just the rebar but when we started the project, we thought drilling a hole in the rock was our only option. It was only when we started revealing what is under each pier ,we had to go back to the engineers and ask for other options. (you can see these these different options above on the structural plan).
This process of excavating was a long and tedious, and required a lot of labour force from us. Drilling the rock took 30 min per hole on the rock and took me about a week to complete with the backhoe. And for the ones I couldn’t drill - about 35% of them - Ivan and his father would shovel to excavate the bedrock as much as possible and put a rebar in.
Getting the Tubes ready for pouring
The next and the most unexpected skill we needed after that was to cut the tubes to shape so that they can sit levelled in the ground. Ivan was great at that and I went around and fill the gaps and uneven parts with the rocks and dirt to make it perfectly levelled. We also researched how to clean inside the tube once its stationary. And we found-out using a vacuum cleaner is the most effective.
Once we figured out the best method of doing this it was fun to do.
Until it wasn’t!
DIFICULT DECISION
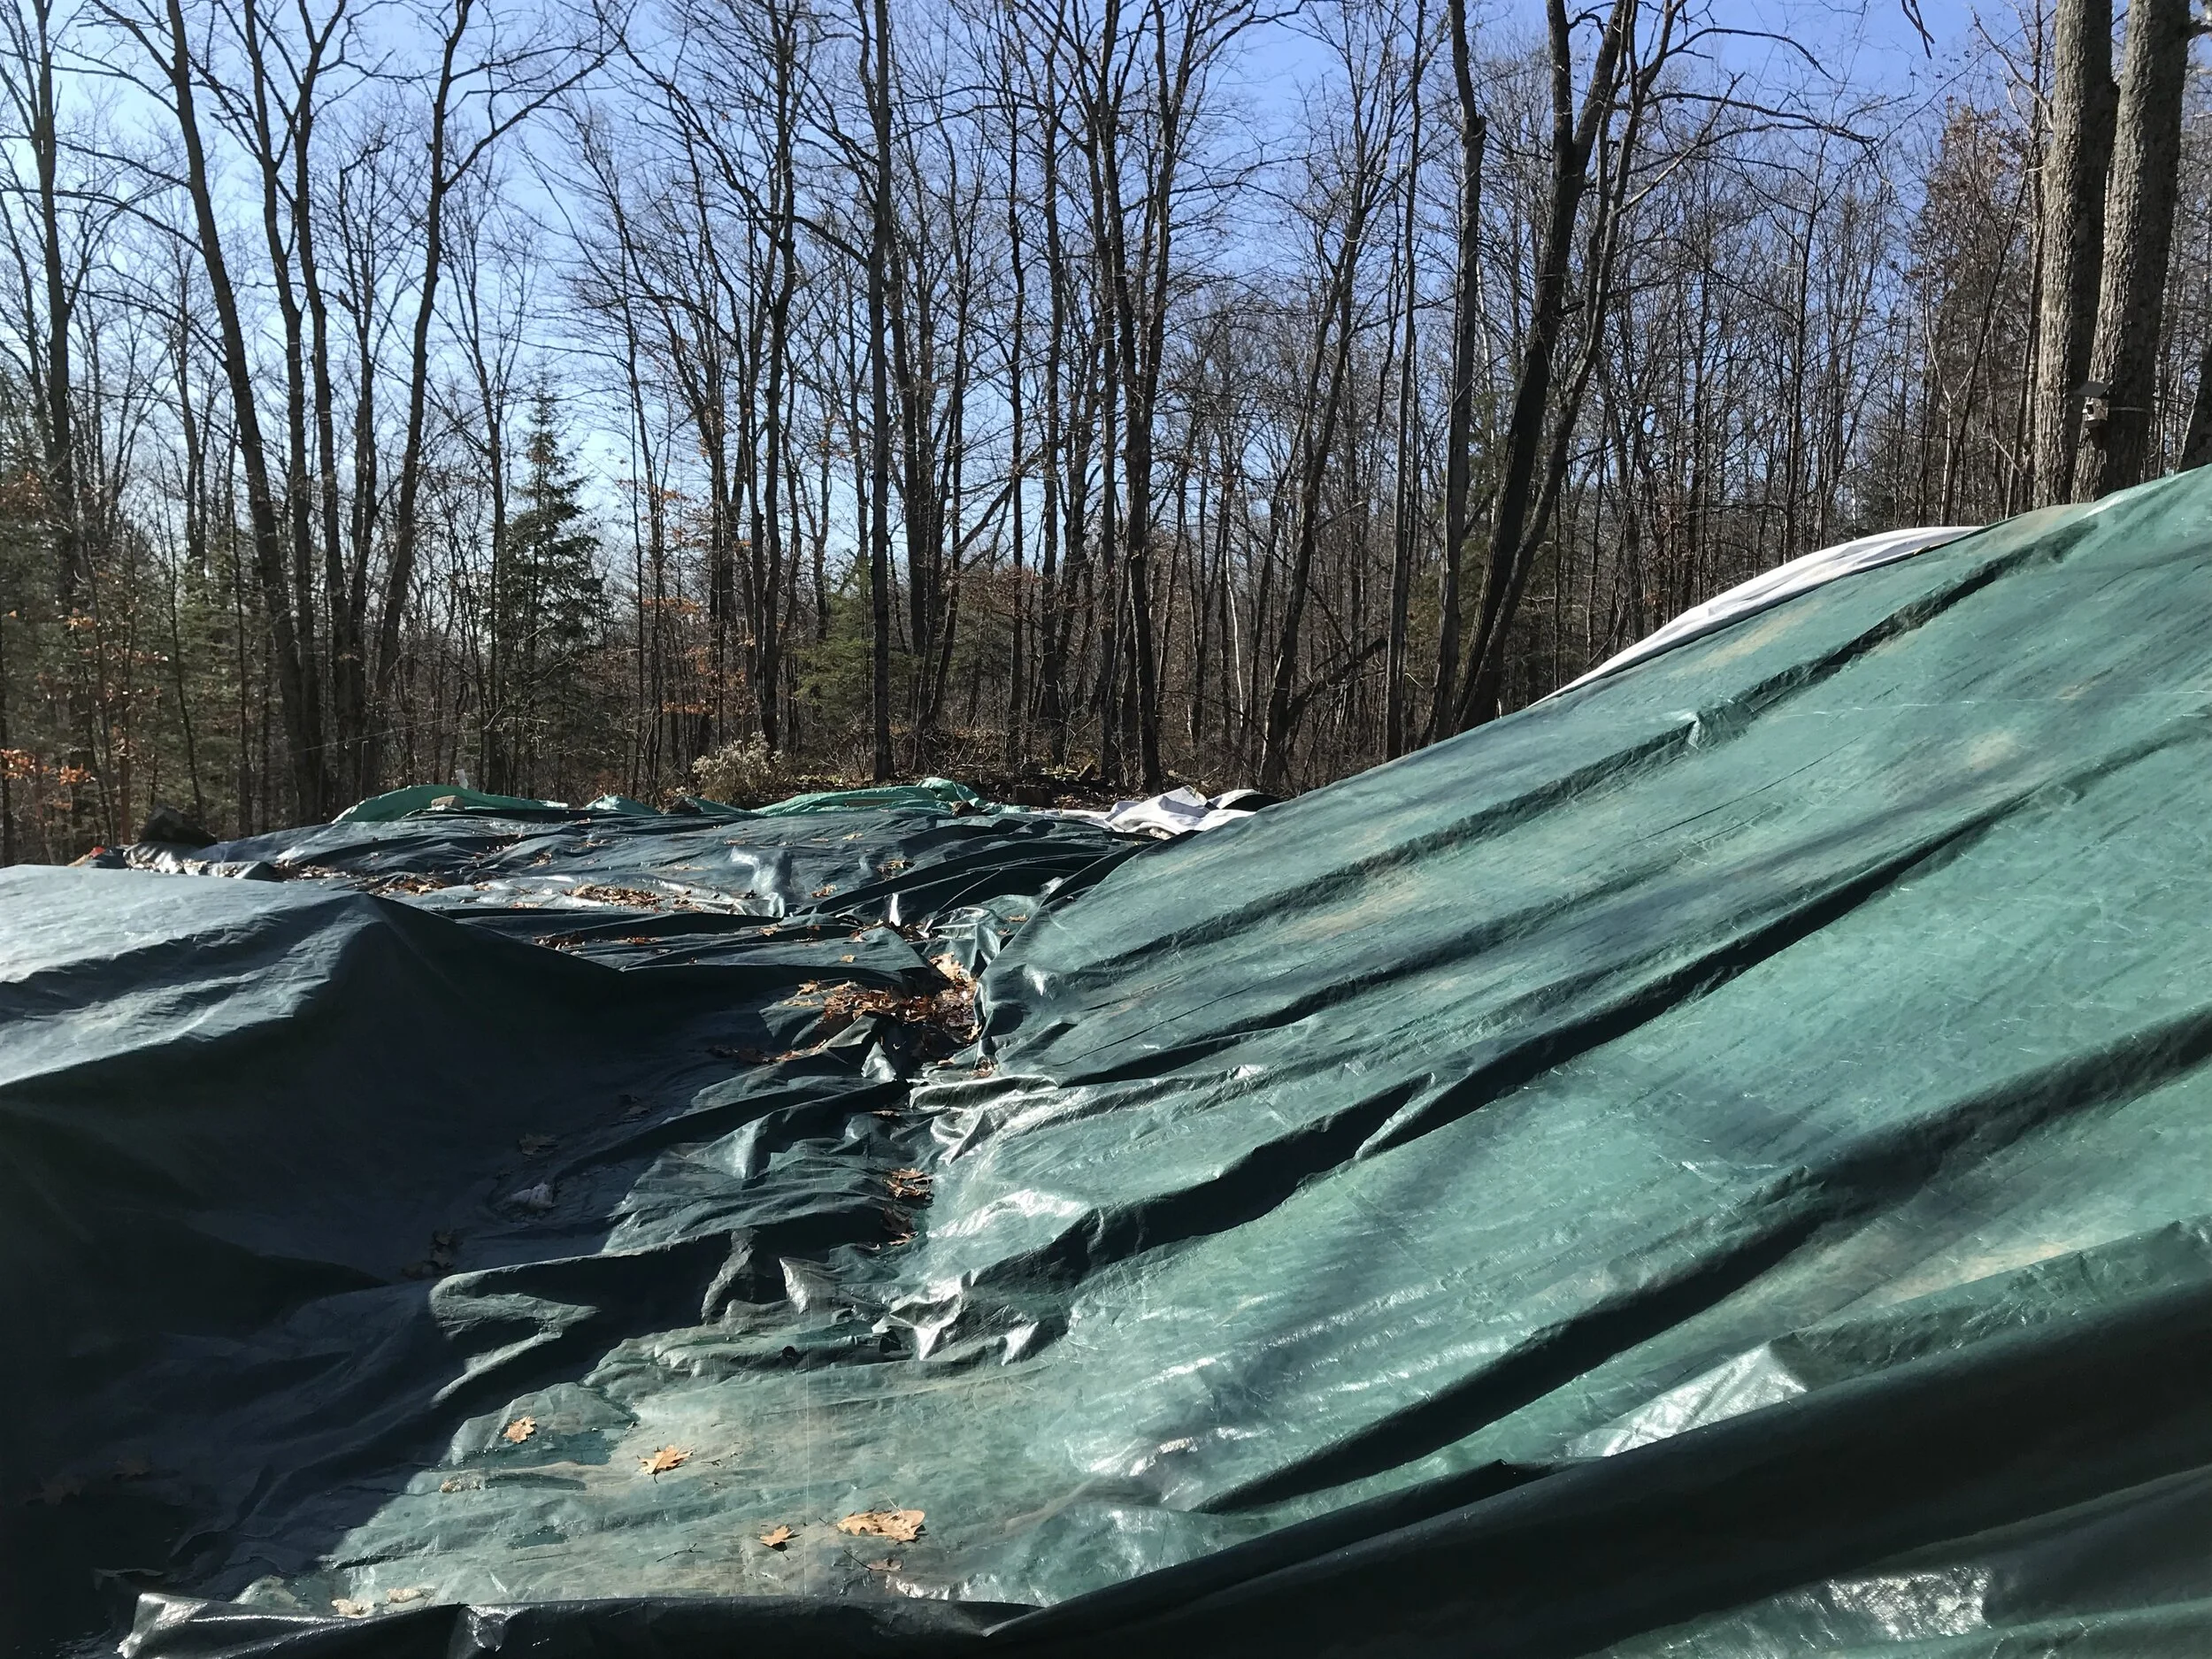
By that stage we were already in September. We were getting frequent rain fall and running out of time to complete our piers. All of a sudden our biggest challenge was to keep the piers dry until the day of the pour. Our plan was to prepare the tubes and schedule a truck with a pump to do it all in one day. But it was taking such a long time to set those piers up and after each rainfall we had to dig them out again and agin. Even with enough tarps the water was finding its way down into those holes and ruining the tubes.
It became obvious that we had to adapt. We already had the concrete mixer and Ivan was excited to do the concrete himself. So we switched gears and decided to do it ourselves in sections. We planned to set 4-6 piers up (as much a s we can pour in a day) get them inspected and pour the next day while navigating wet weather. The only thing left to figure out was how to pour the concrete.
LEARNING ABOUT concrete
There was a lot of figuring out the technicalities of this decision happened in Russian language between Ivan and his Dad. So I’m not sure what exactly happened but Ivan’s Dad built all those bridges and made the tools we used in few days. He was like the magic elf. Ivan did his research on every detail and the proportions of the mixture, ordered the gravel and sand, got the cement. I was just giving them space to think, help them if they need anything and continued set up those piers. This was very stressful for me. But I knew I needed to to keep my faith and trust in Ivan’s decision.
There were multiple problems we had to solve at this stage some of which were:
How to most effectively manage tarps every day. We tried few methods and failed until we found one that worked. That involved using the scaffolding to make a tent like structure.
How to transport the concrete mixer to where we want it to be? That thing is heavy to push and pull. So Ivan’s dad made some tools to help with that.
When the weather started to get cold, how to keep the water temperature warm for the concrete mixture. Ivan’s Dad won the mad scientist award for his system for this. (see his image bellow)
Over all, doing the piers took us on and off about 3 months; after arriving late to Canada in mid June due to Covid. We were on site until the Christmas Day. It was challenging doing it all in cold/wet weather. We did learn a lot and endured a lot. One critical mistake we discovered the next season was; because of the way we choose to do do the piers in groups and working under tarps; we couldn’t continue to measure corner to corner; therefore our square was a foot skewed. I will write about how we solved that problem at another blogpost.
If you think you still want to do it make sure you start early. The land clearing, and pier setup takes so much longer than the pour and the carpentry. So set all your piers at once during a dry patch, bring a truck to do the pour in one day and measure corner to corner twice before placing your posts. But if you had to steer towards our way; it’s ok too. It’s all manageable.
Let us know what you think bellow in the comments. Would you do a home on piers? If so what would you do differently?
Dec 8 2020 - Foundation Piers were complete.


